


Advantages of Impact Barriers in Warehouses
Increase Worker Safety
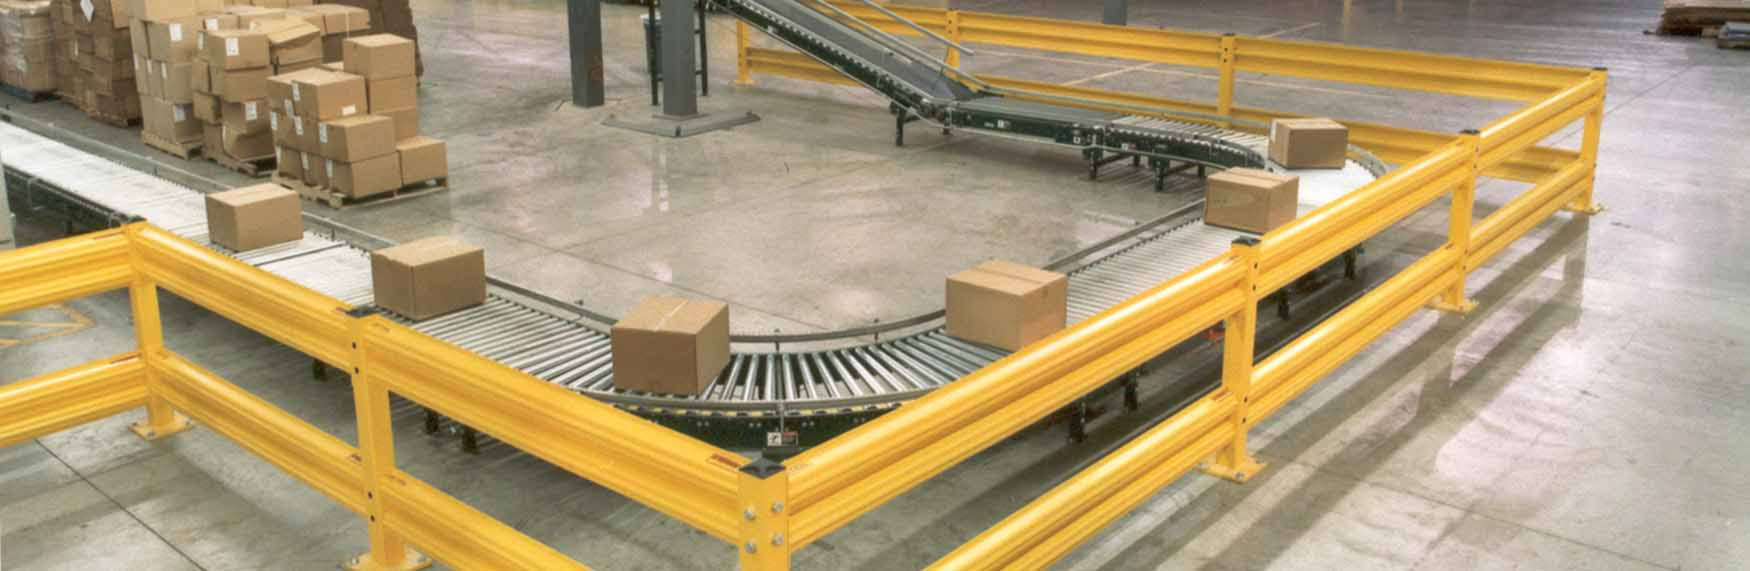
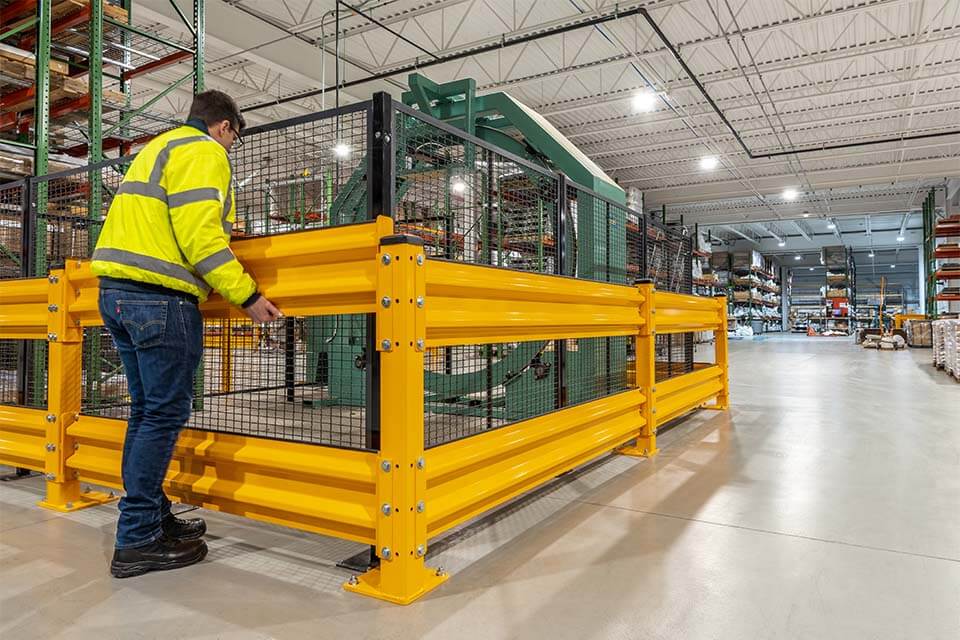
Impact barriers create a physical separation between workers and moving equipment, such as forklifts and conveyor systems. This reduces the risk of accidents and injuries. In the event of a collision, impact barriers absorb and redirect energy, minimizing damage and injury.
Protect Valuable Assets
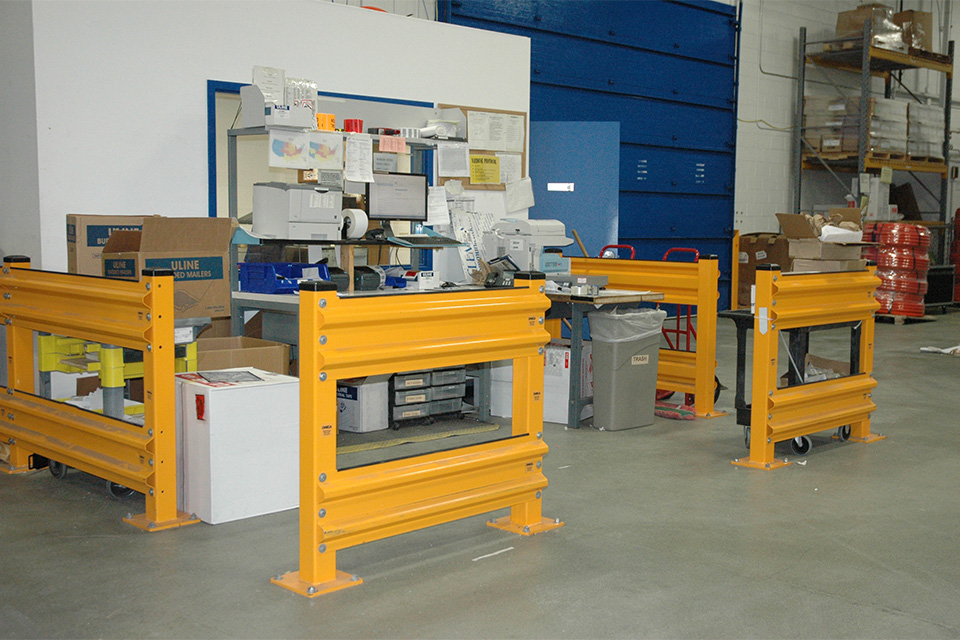
Impact barriers provide necessary protection for machinery, equipment, and shelving. Painted lines provide a limited visual indicator without preventing vehicular traffic from colliding with warehouse structures. Impact barriers are easier to see and act as a shield from collision.
Long-Term Cost Savings
A slight bump from a forklift is enough to create a wave of crashing shelves in a warehouse. Warehouse guardrails help protect against the loss of inventory, shelving, and machinery. Also, the cost in time to repair and replace will be mitigated with the right safety installed.
Easy to Design and Install
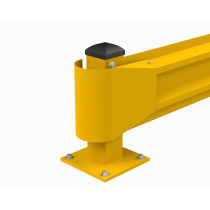
Our impact guardrails come with the necessary hardware to install. All you need are the tools and the manpower to do so. With the variety in posts, rail lengths, and brackets, there is no reason to not have impact barrier installed to protect your workers and your warehouse.
How to Design an Impact Barrier
Once you've inspected the site and determined where the impact barrier is needed, map out the specific layout you would like for your impact barrier. Include corners, distances, gates, breaks, and other obstacles.
- Determine if you need one or two rails for your impact barrier. This will be based on the application. Machinery guardrails need to be 42 inches to protect someone from falling into them. There is no minimum height requirement if the guardrail is used for directing traffic unless its next to a 48-inch level change. This is a fall hazard and requires a 42-inch guardrail.
- Determine the length of the railing that you need. Take each length and divide it by the nearest whole number between 2 and 10. Double that number if you need a double rail impact barrier. Repeat this for each length. Add them all together to get the number of rails you need, by length.
- The total number of posts you need will be equal to the total number of sections. Add one additional post for each final termination.
- Count how many sections of railing you want to be easily removed. Add a lift-out bracket set for each single rail that needs to be removable.
- Count how many sections will need to act as gates. Add the single or double gate bracket for each applicable section.
- Add 45-degree brackets for every corner that is 45 degrees. One for the single rail and two for the double rail corner.
- Wrap-around brackets are an optional aesthetic cover for any terminating post. Add one for each end of the rail you would like to have this added to.
- Once every thing has been added to your cart, checkout and get ready to install your new impact barrier.
Custom lengths are available by the inch between 2 feet and 10 feet. Contact one of our experts if you need custom lengths.